Watching or creating YouTube videos on your smartphone can often result in blurry, pixelated, or low-resolution playback — especially on mobile data or with default app settings. In 2026, modern phones (iPhone 17 series, latest Android flagships) support up to 4K/60fps recording and playback, but YouTube’s compression, data-saving features, and upload settings can degrade quality if not optimized.
Whether you want crisper video playback while watching or higher-quality uploads when creating content from your phone, this guide covers practical, up-to-date steps for both viewers and creators.
Part 1: Improve YouTube Video Playback Quality on Mobile (Watching)
YouTube defaults to Auto or Data Saver on mobile, which often caps quality at 480p–720p to save bandwidth. Here’s how to force higher quality.
1. Set Default Video Quality Preferences (Permanent Setting)
This is the most effective way to ensure higher picture quality across all videos.
On Android & iOS (YouTube App):
- Open the YouTube app and tap your profile picture (top right).
- Tap Settings (gear icon).
- Select Video quality preferences.
- You’ll see options for Mobile networks and Wi-Fi separately:
- Choose Higher picture quality (uses more data, prioritizes sharper video — often starts at 720p+).
- Avoid Data saver unless you’re on limited data.
- Auto lets YouTube adjust based on connection speed.
- For even better control, also set Audio quality to Higher audio quality.
This setting applies globally and works well on both Wi-Fi and cellular.
2. Change Quality for a Specific Video
While watching a video:
- Tap the gear icon (Settings) in the top right of the player.
- Tap Quality.
- Select from available resolutions (144p up to 4K UHD, depending on the upload and your connection).
- In 2026, many videos now show expanded resolution options directly in the quick menu.
Pro tip: On strong Wi-Fi, always choose the highest available (1080p, 1440p, or 4K). On mobile data, test “Higher picture quality” first to avoid excessive buffering.
3. Additional Playback Tips
- Use a stable, fast Wi-Fi connection — 5G or Wi-Fi 6/7 helps with 4K streaming.
- Disable Data Saver mode in your phone’s settings or YouTube.
- Keep the YouTube app updated for the latest codec support (VP9/AV1 for better quality at lower bitrates).
- Close background apps to free up processing power and RAM.
Part 2: Improve YouTube Video Quality When Creating & Uploading from Mobile
Many creators shoot and upload directly from their phones. Poor recording or upload settings lead to blurry final videos on YouTube.
1. Record in the Highest Possible Quality
Use your phone’s native Camera app or a dedicated app for better control.
Recommended Camera Settings (2026):
- Resolution: 4K (2160p) at 30fps or 60fps for best results. YouTube handles 4K uploads better and applies superior processing (VP9 codec).
- Frame rate: 30fps for most talking-head or vlog content; 60fps for smooth motion (gaming, sports).
- Aspect ratio: 16:9 for regular videos; 9:16 for YouTube Shorts.
- Use the rear camera (higher quality sensors) and shoot in good lighting.
- Enable stabilization (OIS/EIS) and HDR video if available.
Tip: Avoid digital zoom — move closer physically for sharper results.
2. Edit on Mobile with Quality-Preserving Apps
- CapCut (free, highly recommended in 2026) — Export in 4K/60fps with high bitrate.
- iMovie (iOS) or VN Video Editor (Android) for clean exports.
- Export settings: MP4 format, H.264 or H.265 codec, high bitrate (at least 10–20 Mbps for 1080p, higher for 4K).
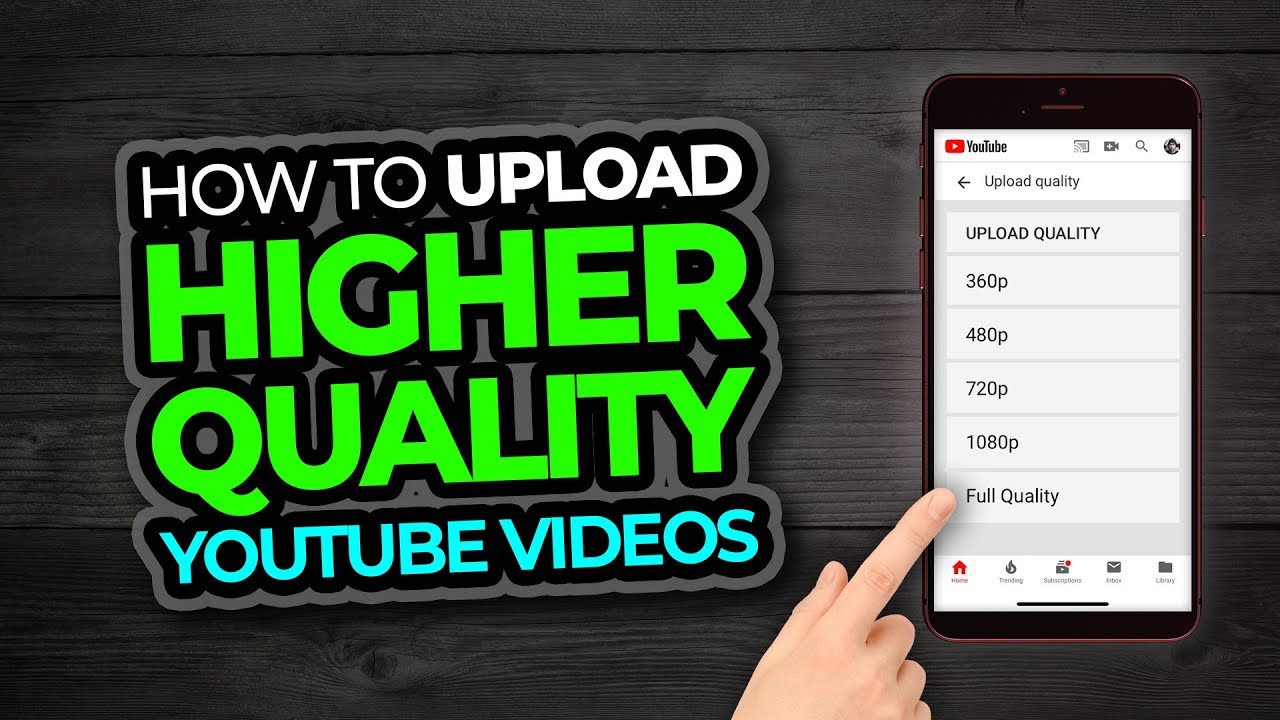
3. Set Upload Quality to “Full Quality” in YouTube App
This is crucial to prevent YouTube from compressing your video too aggressively during upload.
Steps:
- Open the YouTube app (or better, YouTube Studio app for more control).
- Tap your profile picture → Settings → Uploads.
- Tap Upload quality and select Full quality (or “High quality” / “Original”).
This ensures your video uploads without heavy down-compression. Always upload over Wi-Fi for faster and more reliable results.
4. Additional Upload Best Practices
- Export and upload at 1080p minimum; 4K is better if your phone supports it.
- Use MP4 or MOV format.
- Avoid heavy filters or over-editing that reduces bitrate.
- After uploading, wait for full processing (check the video quality indicator in YouTube Studio — it should turn from SD to HD/4K).
- For Shorts: Upload via YouTube Studio app to preserve 60fps where possible.
Quick Comparison: Quality Settings on Mobile (2026)
| Setting | Data Usage | Typical Resolution | Best For | Recommendation |
|---|---|---|---|---|
| Data Saver | Low | Up to 480p | Limited data | Only when conserving data |
| Auto | Medium | Adaptive | Balanced experience | Good default |
| Higher Picture Quality | High | 720p – 4K | Sharp viewing | Use on Wi-Fi |
| Full Quality (Upload) | High | Original (4K+) | Creators uploading from phone | Always enable for uploads |
Final Tips for Best Results in 2026
- Lighting and stability matter more than resolution — shoot in bright, even light and use a tripod or gimbal.
- Test uploads: Upload a short test video and watch it on different devices to check final quality.
- AI enhancement tools (cloud-based) can now upscale older low-res mobile footage to near-4K, but starting with high-quality recording is always better.
- For creators: Combine good phone recording + CapCut editing + Full quality upload = professional-looking results without a camera.
- Monitor your video’s processing status in YouTube Studio — quality improves after full HD/4K processing completes (can take minutes to hours).
By adjusting these settings, your YouTube experience on mobile — whether watching or creating — will look noticeably sharper and more professional. Start with the Video quality preferences for instant playback improvements, then optimize your recording and upload workflow for creator-level quality.
If your videos still look blurry after these steps, check your internet speed or try uploading from a computer for maximum control. Consistent high-quality content also helps with better algorithm recommendations and viewer retention.